I was mid-way through a delicate soldering job on a vintage Moog synthesizer last Tuesday when the floorboards in my hallway decided to let out a piercing, high-pitched protest. It wasn’t just a noise; it was a mechanical failure of the home’s structural integrity, and it completely broke my concentration. Most people think that once a floor starts talking back to you, you’re looking at a massive, budget-breaking renovation involving tearing up the entire subfloor. But here is the truth: most squeaks are just simple friction points between the joists and the decking that can be solved with the right mechanical intervention. If you’ve been searching for how to fix a squeaky floorboard without turning your living room into a construction zone, you’ve come to the right place.
If you find that the structural issues go deeper than just a loose board—perhaps you’re seeing signs of moisture damage or significant settling in the foundation—I always suggest consulting with a professional who specializes in home restoration. Sometimes, the most efficient way to ensure long-term stability is to bring in an expert who can assess the integrity of your entire subfloor before you commit to more invasive DIY repairs. For a great starting point on finding reliable local contractors and understanding different home maintenance standards, I’ve found that checking out www.casualny.com can be a highly effective resource for navigating those bigger, more complex structural projects.
I’m going to strip away the fluff and give you a systematic approach to silencing those boards for good. We aren’t going to rely on “home hacks” or temporary fixes that fail after a week; instead, I’ll walk you through the precise tools and hardware required to stabilize the wood properly. Whether you need to drive a specialized screw through the carpet or use a localized adhesive injection, I’ll show you how to execute a professional-grade repair that lasts.
Guide Overview
Tools & Supplies
- Screwdriver or Drill for driving screws
- Hammer for tapping nails or wedges
- Wood screws (short enough to avoid piercing subfloor)
- Wood glue or lubricant (talcum powder or silicone spray)
Step-by-Step Instructions
- 1. Before you grab a hammer, you need to perform a diagnostic sweep to locate the exact source of the friction. Walk slowly across the area, applying pressure to different spots until you hear that telltale groan or creak. Once you’ve identified the culprit, mark the specific board with a piece of painter’s tape; this ensures you aren’t chasing ghosts when you actually start the mechanical repair.
- 2. Inspect the subfloor clearance to determine if the noise is caused by a loose nail or a gap between the floorboard and the joist. If you can see a visible gap, you’re likely dealing with structural shifting rather than just a loose fastener. Use a thin putty knife to probe the seam; if the knife sinks in easily, you’ll need to focus on filling that void to stabilize the board.
- 3. For minor squeaks caused by surface-level friction, I recommend starting with a lubricant-based approach before moving to invasive hardware fixes. Sprinkle a small amount of graphite powder or even talcum powder into the crevice between the boards. Use a soft brush to work the powder deep into the joint, then walk over it several times to distribute the lubricant evenly through the gap.
- 4. If the lubricant method fails, it’s time to deploy a “Squeeeeek No More” kit or similar specialized screw system. You’ll need to drive a specialized, thin-threaded screw through the floorboard and directly into the joist below. The trick here is to use a screw with a collapsible head that snaps off just below the surface of the wood, leaving you with a near-invisible repair that doesn’t ruin the aesthetic of your flooring.
- 5. When driving these screws, ensure you are hitting the joist center to avoid splitting the wood. I always tell my clients to use a stud finder—even for floors—to map out the underlying structure. If you miss the joist, you’re just creating a new hole without actually resolving the structural instability.
- 6. For more significant gaps where the board has physically separated from the subfloor, you’ll need to use a wood filler or a specialized gap sealant. Choose a product that is specifically rated for flooring to ensure it can handle the lateral movement of foot traffic. Apply the filler using a caulking gun or a putty knife, and be sure to overfill the gap slightly, as these compounds often shrink as they cure.
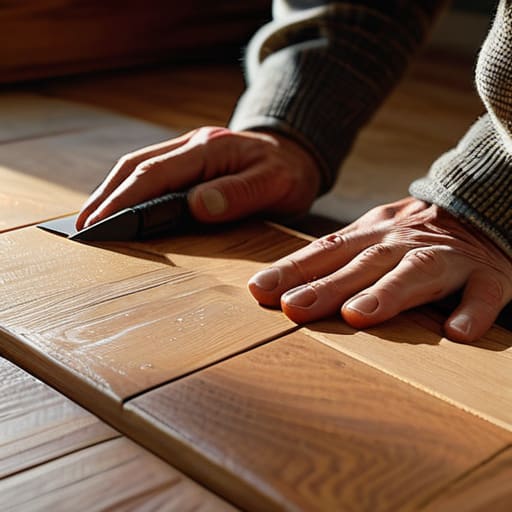
- 7. Once the hardware is set and the gaps are filled, the final step is the aesthetic integration. If you used screws, sand the area lightly with high-grit sandpaper to smooth out any disruptions. If you used filler, you may need to apply a small amount of matching wood stain to ensure the repair is completely seamless to the naked eye.
Lubricating Floorboard Friction for Immediate Silence
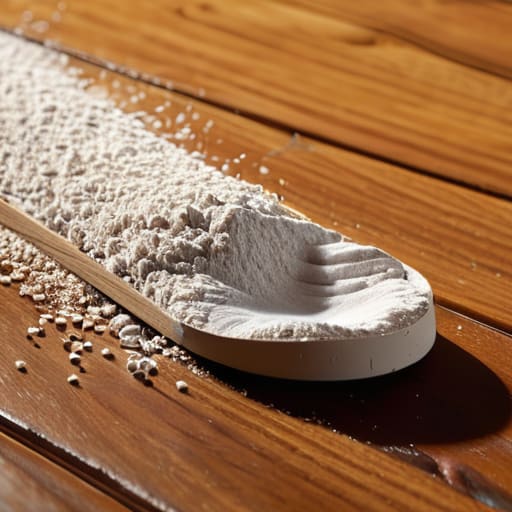
If you aren’t ready to commit to a full-scale renovation, lubricating floorboard friction is often the most efficient way to achieve immediate silence. When the noise is caused by two pieces of wood rubbing together—rather than a structural gap between the joist and the subfloor—a dry lubricant can act as a temporary buffer. I typically recommend using a fine, talc-based powder or a specialized graphite spray. These substances seep into the microscopic gaps between the boards, creating a thin barrier that prevents the high-pitched friction that defines a squeak. It’s a non-invasive way of fixing squeaky hardwood floors when the movement is minimal but the noise is intolerable.
However, a word of caution from my time on job sites: avoid using heavy oils or WD-40. While they might provide instant relief, they can soak into the grain and cause long-term discoloration or attract dust, which eventually creates a gritty mess. If you are looking for a more permanent, “clean” intervention, investing in a professional wood floor squeak repair kit that includes specialized lubricants can save you from having to redo the work in six months. Always test a small, inconspicuous area first to ensure the lubricant doesn’t alter the finish of your wood.
Advanced Subfloor Squeak Solutions and Tightening Floor Joists
If the surface-level lubrication didn’t do the trick, we need to look deeper into the structural mechanics of your floor. Often, the noise isn’t just friction between the boards themselves, but the boards rubbing against the joists underneath. When the fasteners lose their grip due to seasonal humidity shifts, you end up with a gap that allows for movement. To address this, you might need to look into tightening floor joists or using specialized subfloor screws that bridge the gap between the hardwood and the structural timber. If you have access to the underside of the floor—say, from a basement or crawlspace—driving structural screws through the joist into the subfloor is the gold standard for long-term stability.
For those of you dealing with finished rooms where you can’t access the underside, I recommend investing in a high-quality wood floor squeak repair kit. These kits usually include specialized counter-sinking tools and breakaway screws designed to pull the board tight to the joist without splitting the wood. It’s a more surgical approach to fixing squeaky hardwood floors, allowing you to secure the connection from above while minimizing the footprint of the repair.
Pro-Level Troubleshooting: My Top 5 Rules for Floorboard Stability
- Always test your lubricant on a hidden corner first. Since I spend my weekends restoring vintage analog gear, I’ve learned that what works on a circuit board or a mechanical part can sometimes react poorly with wood finishes or stains. You don’t want to fix a squeak only to realize you’ve permanently discolored your hardwood.
- Prioritize mechanical fasteners over chemical fixes whenever possible. Lubricants are great for a quick “band-aid” fix, but if you want a long-term solution that stands up to foot traffic, you need to physically secure the board to the joist using trim screws or specialized subfloor brackets.
- Identify the “oscillation point” before you start drilling. Walk the floor slowly and use a piece of chalk to mark exactly where the movement occurs. In my experience with residential integration, precision is everything; if you drive a screw even two inches off-center, you’re just creating a new point of tension.
- Respect the wood’s natural expansion and contraction. If you’re working in the Pacific Northwest, you know how much humidity swings can affect your home’s structure. Avoid over-tightening screws to the point where you crush the wood fibers, as this can actually cause the board to buckle or crack when the seasons shift.
- Check your joist spacing while you’re under the house. If you find that the squeak is persistent across a large area, it’s likely not a single loose board but a structural gap in the joist layout. Knowing the “why” behind the friction allows you to implement a systemic fix rather than just chasing individual symptoms.
Final System Check
Whether you decided to go with a quick fix like dry lubricant to ease surface-level friction or you rolled up your sleeves to tackle the structural roots by tightening joists and reinforcing the subfloor, you’ve successfully addressed the mechanical failure in your home’s architecture. We’ve moved from treating the symptoms to solving the underlying physics of the squeak. Remember, the goal isn’t just to stop the noise; it’s to ensure that the physical movement of your flooring remains stable and predictable. If you find that the vibration persists after these steps, you may be dealing with a more significant issue like wood rot or foundation settling, which requires a different kind of diagnostic approach.
At the end of the day, a truly smart home isn’t just about the high-tech sensors and automated lighting—it’s about the integrity of the environment you live in. There is a profound sense of satisfaction in taking a piece of “broken” infrastructure and applying a methodical, engineering-based solution to restore it to its original state. Don’t let the small, annoying disruptions pull you away from enjoying your space. Once you master the hardware and the mechanics of your home, you stop being a mere occupant and start becoming the true architect of your own comfort. Now, go enjoy the silence.
